Hugo 踩过的坑

实现搭建Hogo通过GitHubAction自动发布到GitHubPages
思路
- 本地下载安装 hugo
- GitHub 创建2个仓库,分别作为源代码仓和博客仓
- 配置Action通过Git发布到分支,触发Action自动部署至博客仓
- 自定义CNAME 指定用已有的域名访问
实用命令
1hugo 打包
2hugo server 启动
3hugo version 看版本号
下载安装
Windows安装
在hugo github下载windows版本包,解压到目录,并添加到PATH即可
Ubuntu安装
1 sudo apt-get install hugo
Mac安装
1 brew install hugo
创建站点
1github hugo new site <you-system>
安装主题
1cd 项目目录
2git init
3git submodule add https://github.com/dillonzq/LoveIt.git themes/LoveIt #去官网选择自己喜欢的
配置
 1baseURL = "https://youlocal.com/"
 2# [en, zh-cn, fr, ...] determines default content language
 3defaultContentLanguage = "en"
 4# language code
 5languageCode = "en"
 6title = "My New Hugo Site"
 7
 8# Change the default theme to be use when building the site with Hugo
 9theme = "LoveIt"
10
11[params]
12  # LoveIt theme version
13  version = "0.2.X"
新建文章
1hugo new posts/youname.md
配置GitHub
生成密钥,一般在 .ssh/ 私钥 公钥.pub
1ssh-keygen -t rsa -C ****@163.com
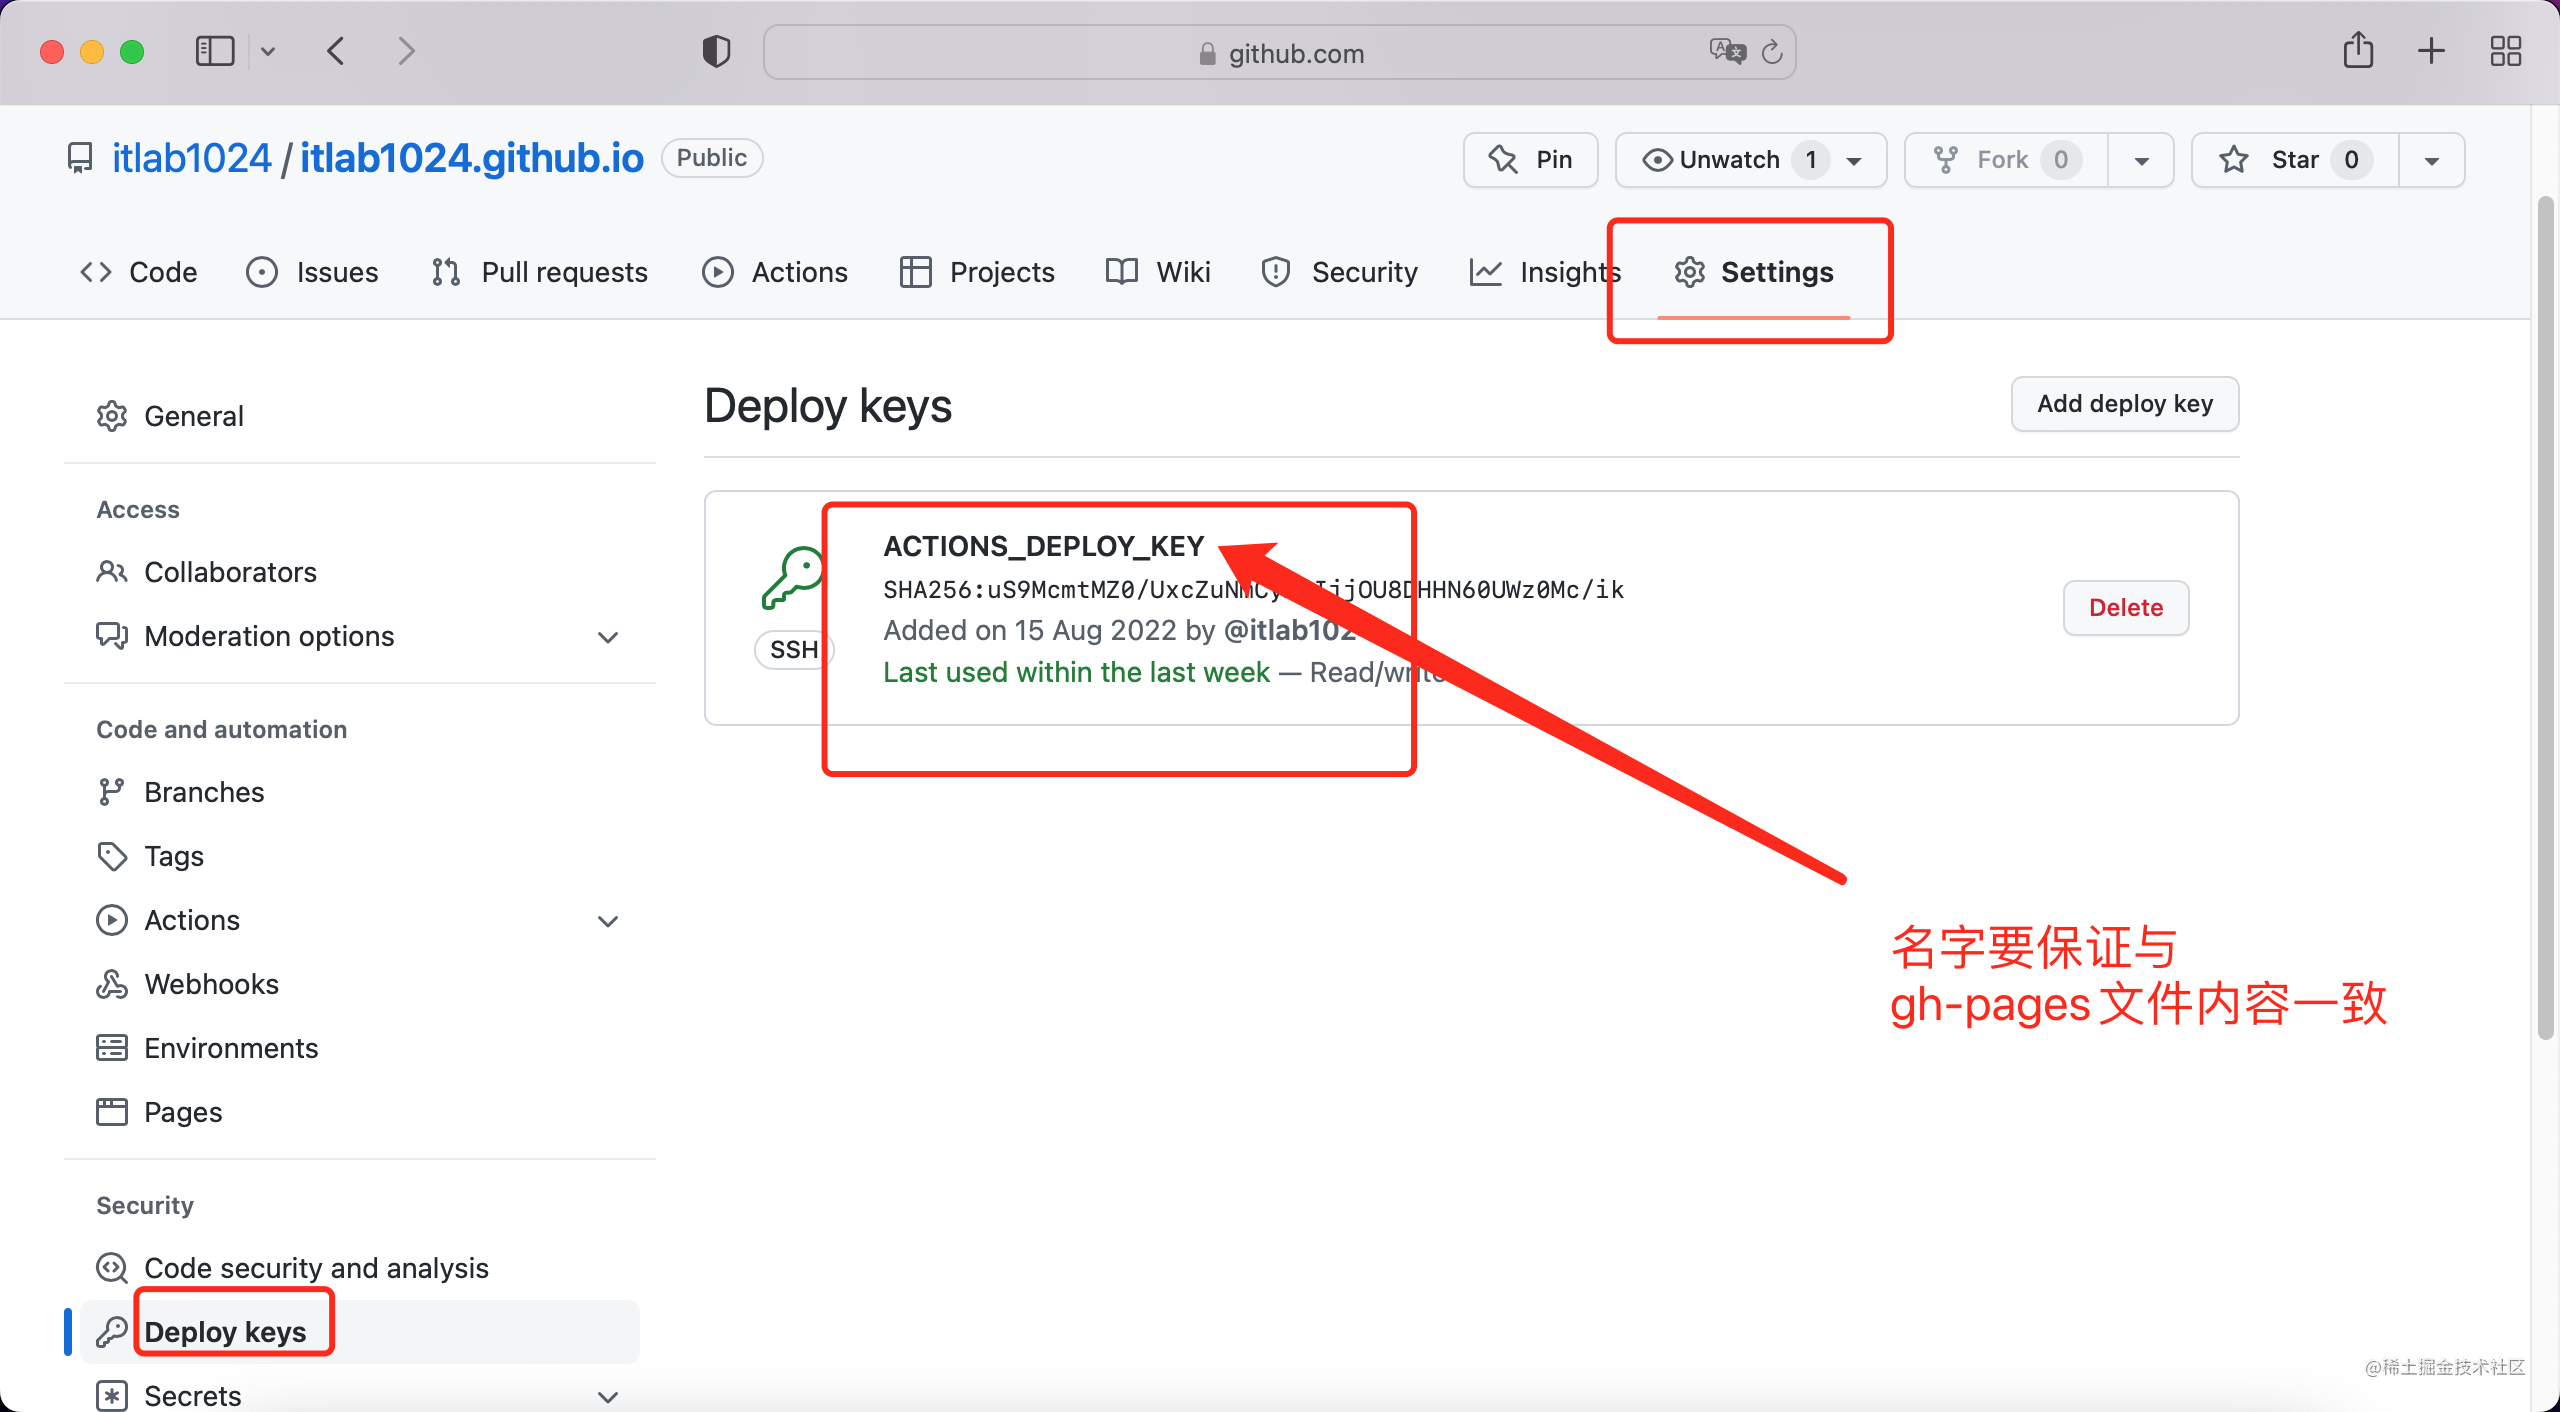
重点
源代码库配置私钥,博客仓库配置公钥
源代码库

微博仓库
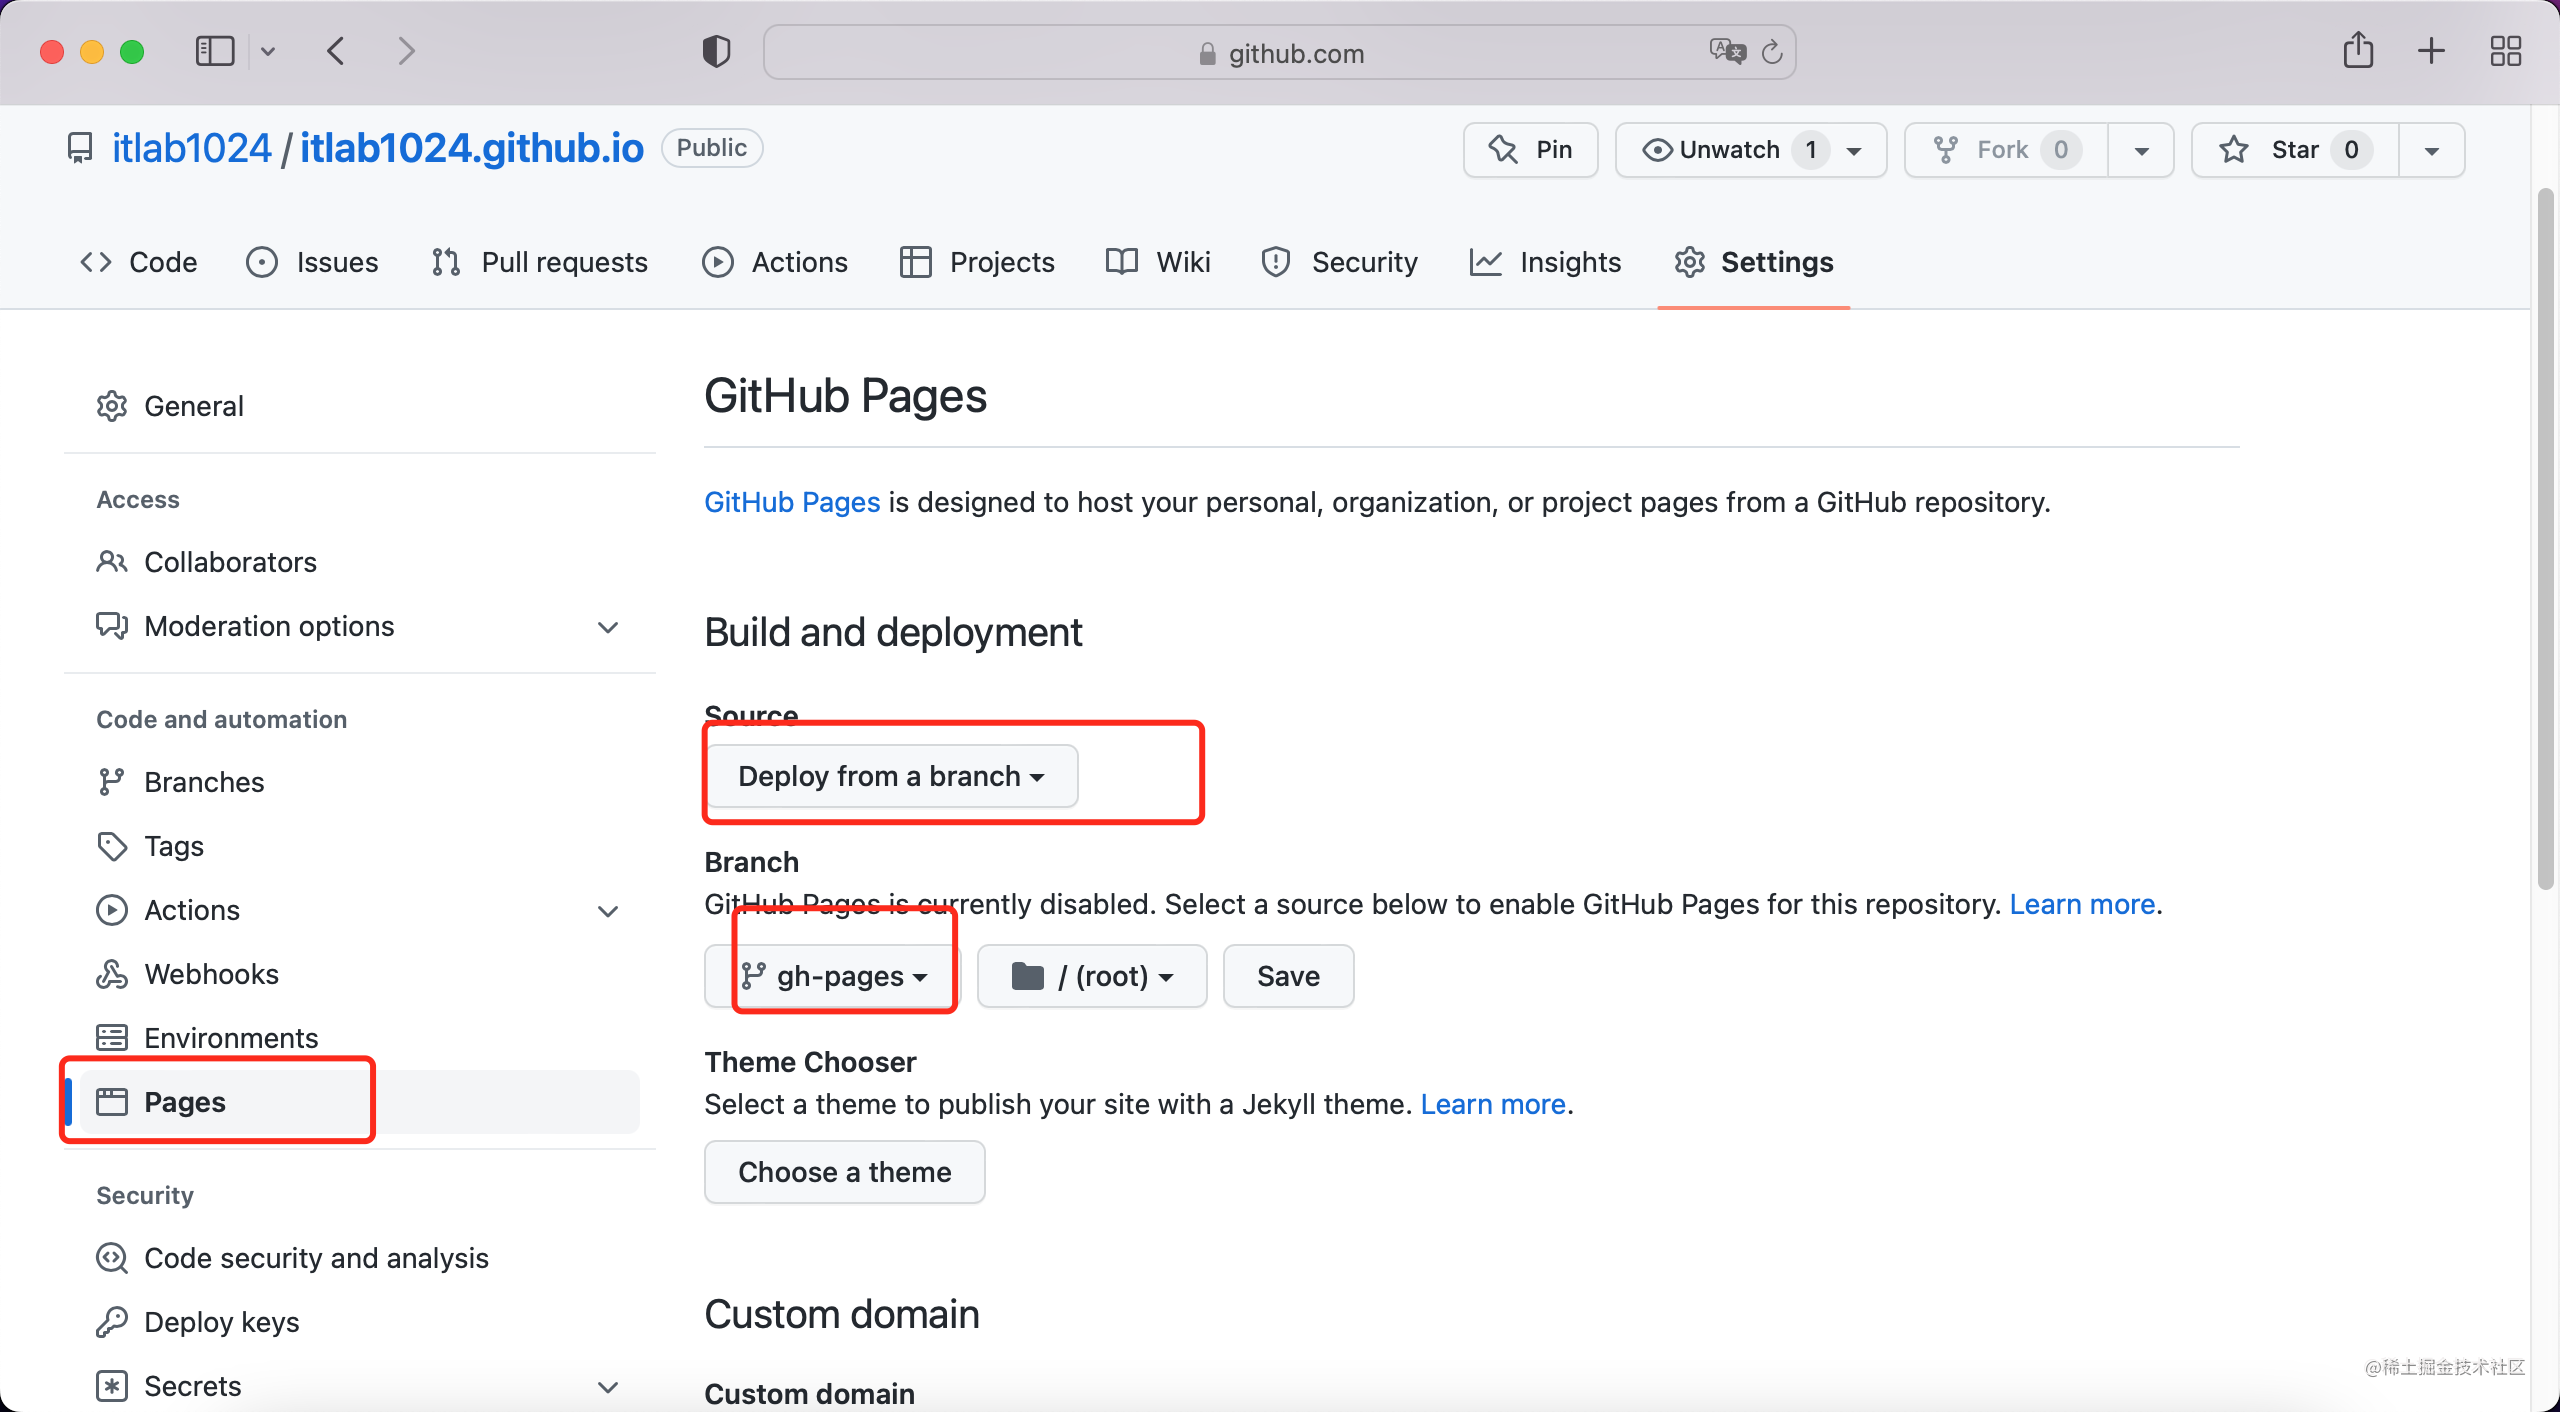
微博仓库设置为Git Pages
配置Action
 1name: github pages
 2
 3on:
 4  push:
 5    branches:
 6      - master  # Set a branch to deploy
 7  pull_request:
 8
 9jobs:
10  deploy:
11    runs-on: ubuntu-20.04
12    steps:
13      - uses: actions/checkout@v2
14        with:
15          submodules: true  # Fetch Hugo themes (true OR recursive)
16          fetch-depth: 0    # Fetch all history for .GitInfo and .Lastmod
17
18      - name: Setup Hugo
19        uses: peaceiris/actions-hugo@v2
20        with:
21          hugo-version: 'latest'
22          extended: true
23
24      - name: Build
25        run: hugo --minify
26
27      - name: Deploy
28        uses: peaceiris/actions-gh-pages@v3
29        if: github.ref == 'refs/heads/master' #master替换成自己的分支
30        with:
31          deploy_key: ${{ secrets.ACTIONS_DEPLOY_KEY }} # key要和main.yml一致
32          external_repository: Banweijun/zadd.github.io # 自己的GitHub地址
33          publish_branch: master  # default: 自己的分支
34          publish_dir: ./public
测试
本地提交代码后查看源码发布记录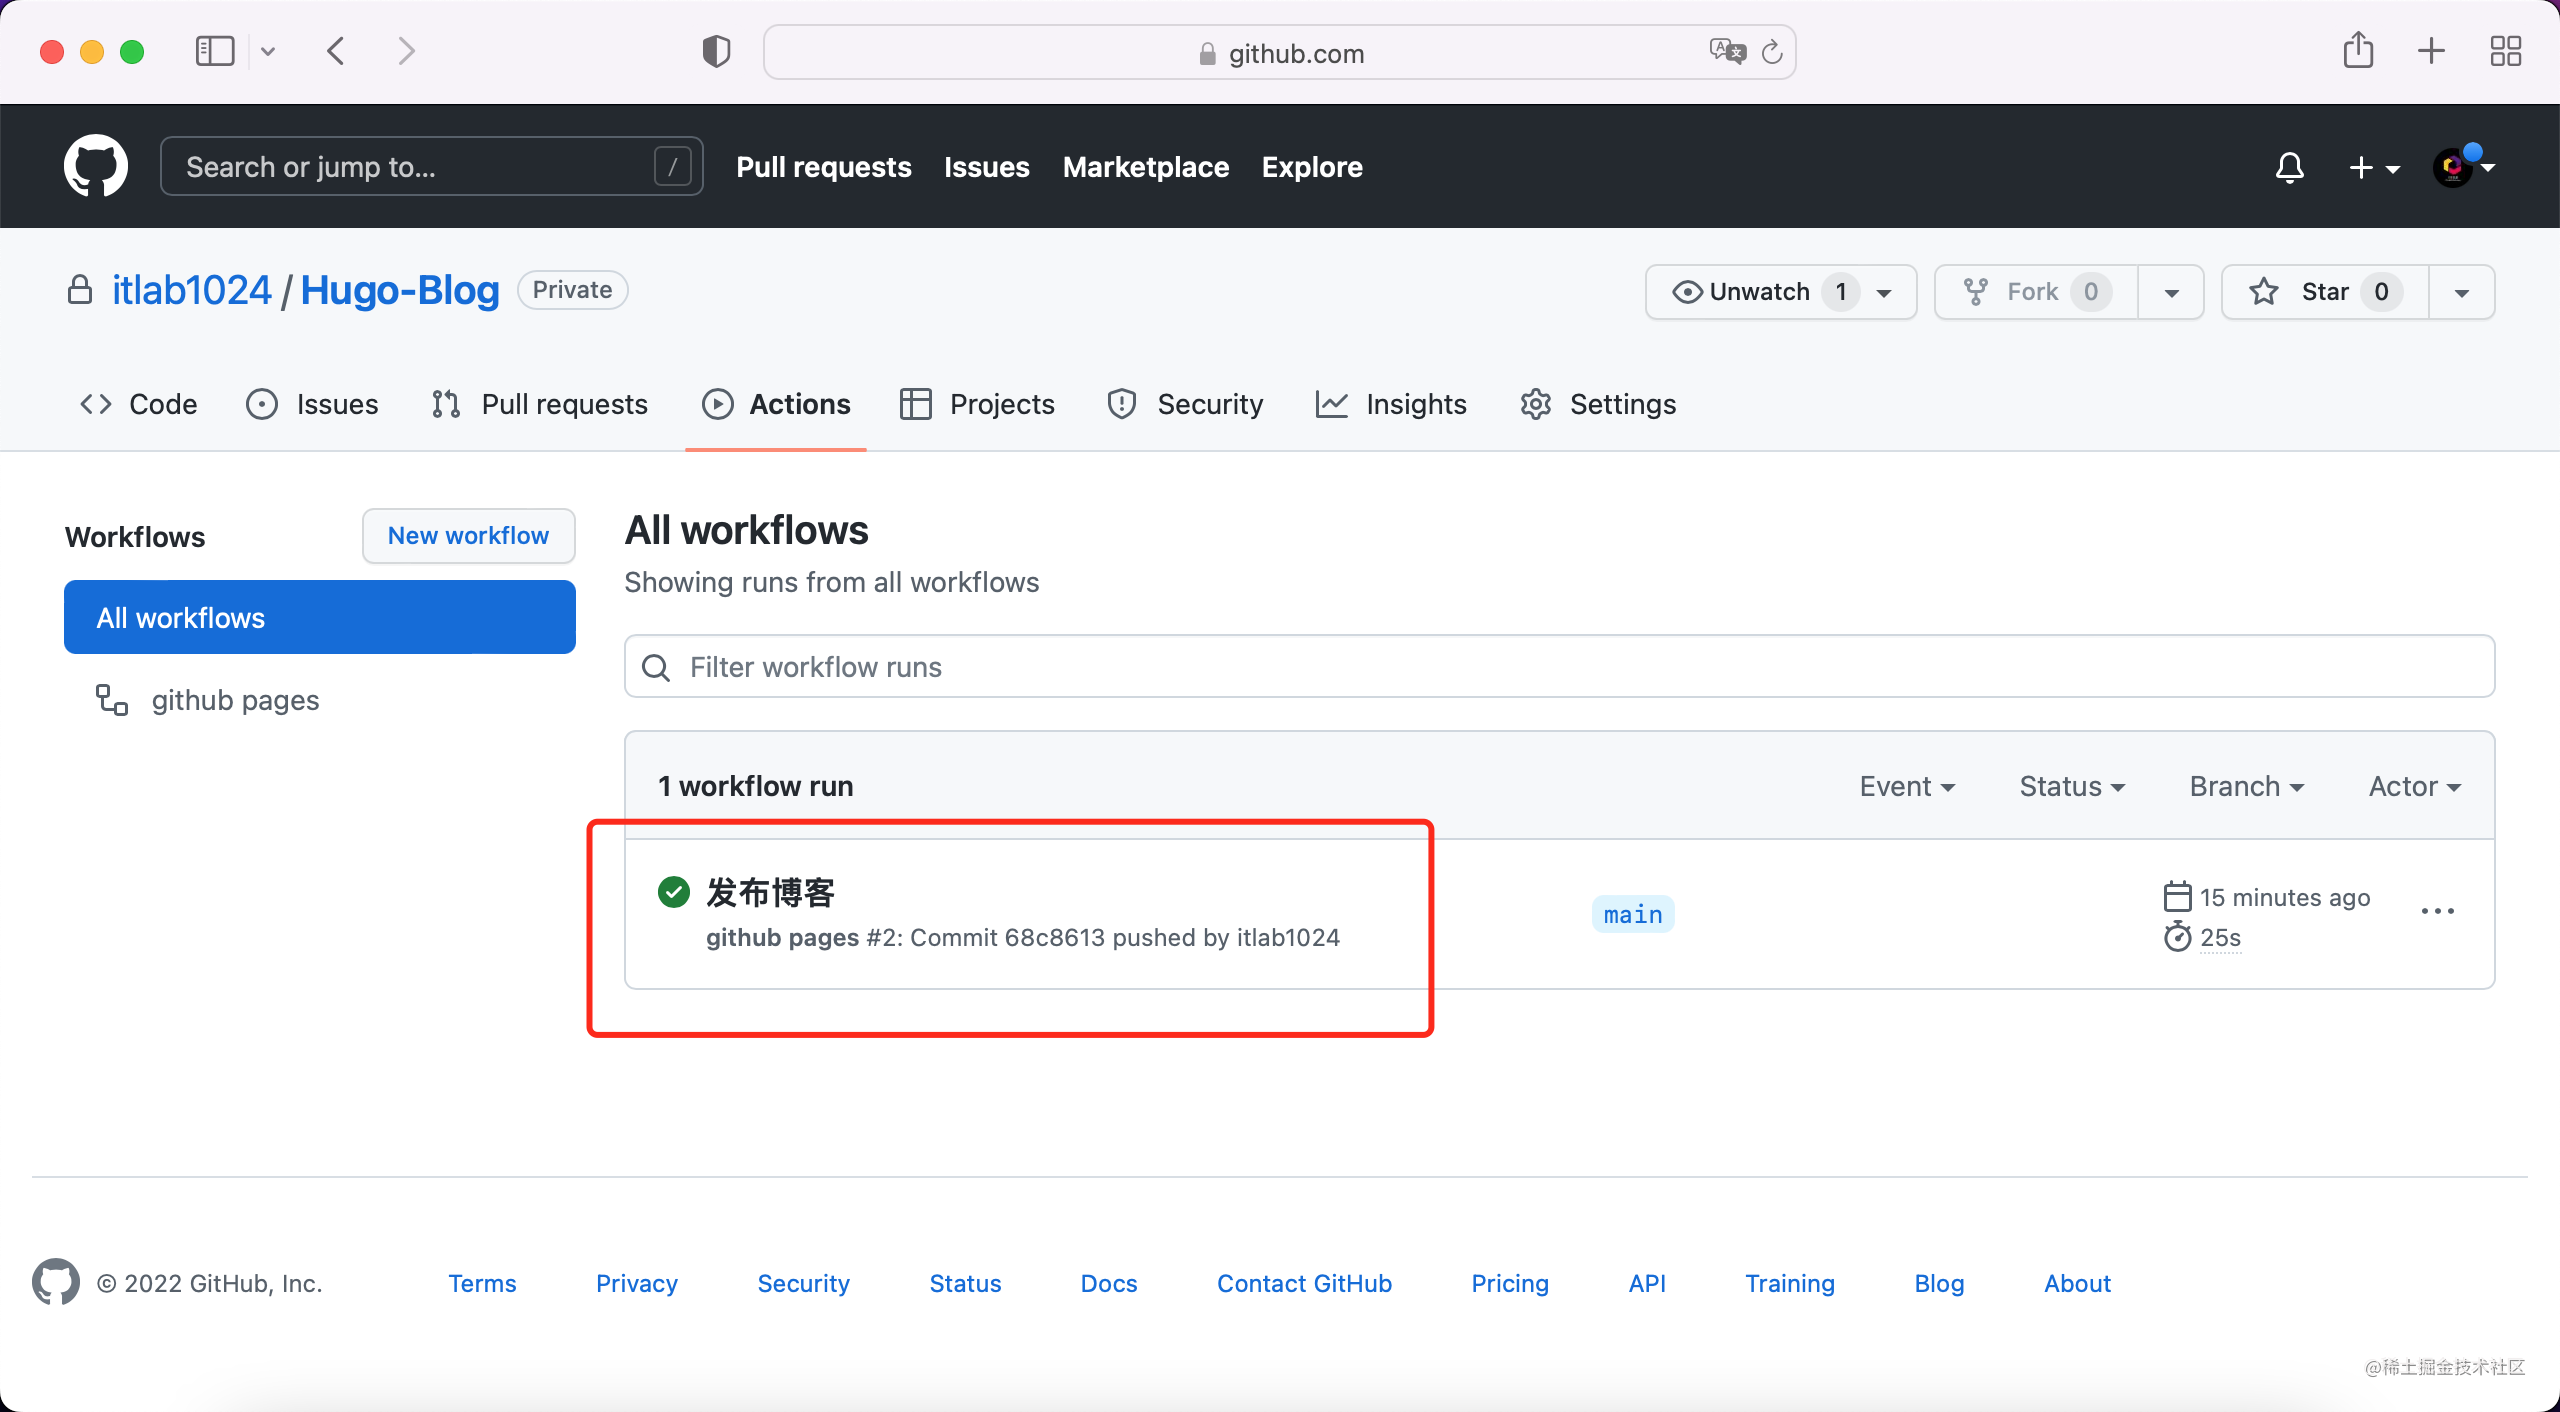
查看博客Pages仓库: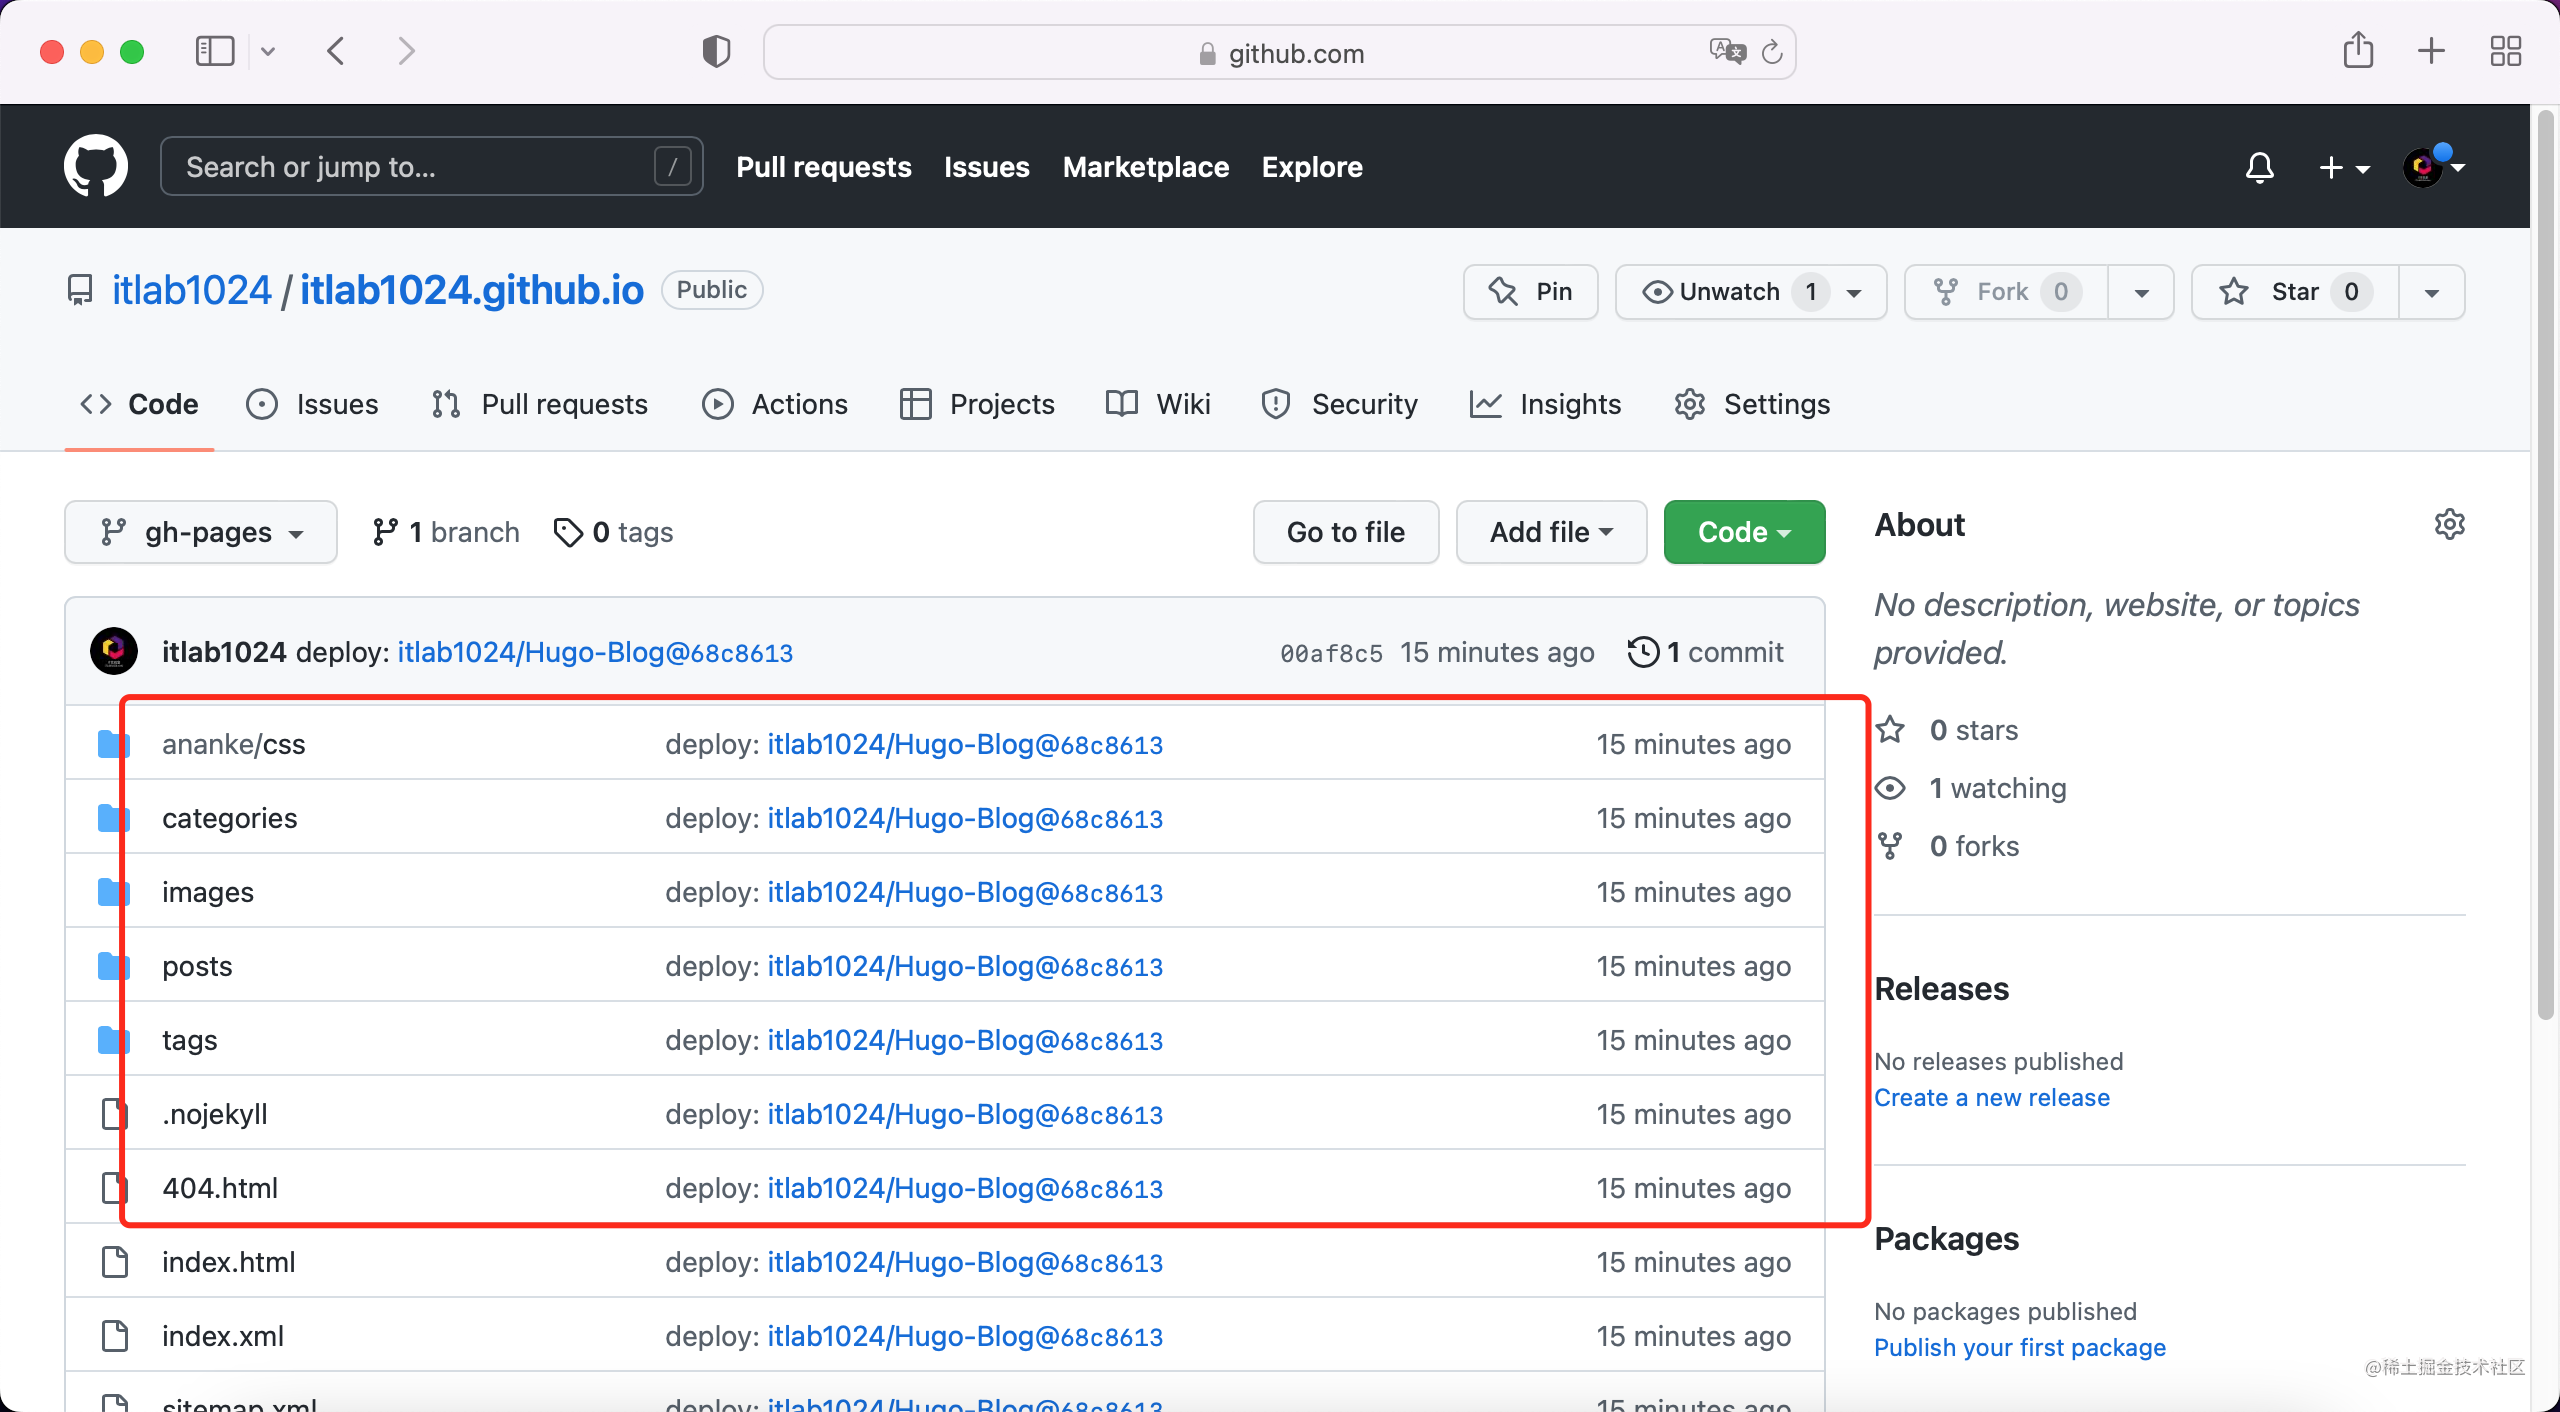
代码已经发布成功。
完结
恭喜🎉🎉🎉! 到此通过访问自己指定的域名或GitHub Pages的域名,打开自己的博客了!!!